
The back of the tool chest will be composed of several pieces of pine, which will help it to accommodate any seasonal wood movement. The back pieces need to be joined to help keep dust and moisture out, and it’s aesthetically more pleasing. Options for this joint include the shiplap and the tongue and groove. I chose the tongue and groove since I have a specialized tongue and groove plane which makes these joints quickly. The plane is a reproduction of the classic Stanley No. 49 and has a clever fence that flips around to expose either a single cutter for the groove or both cutters for the tongue.

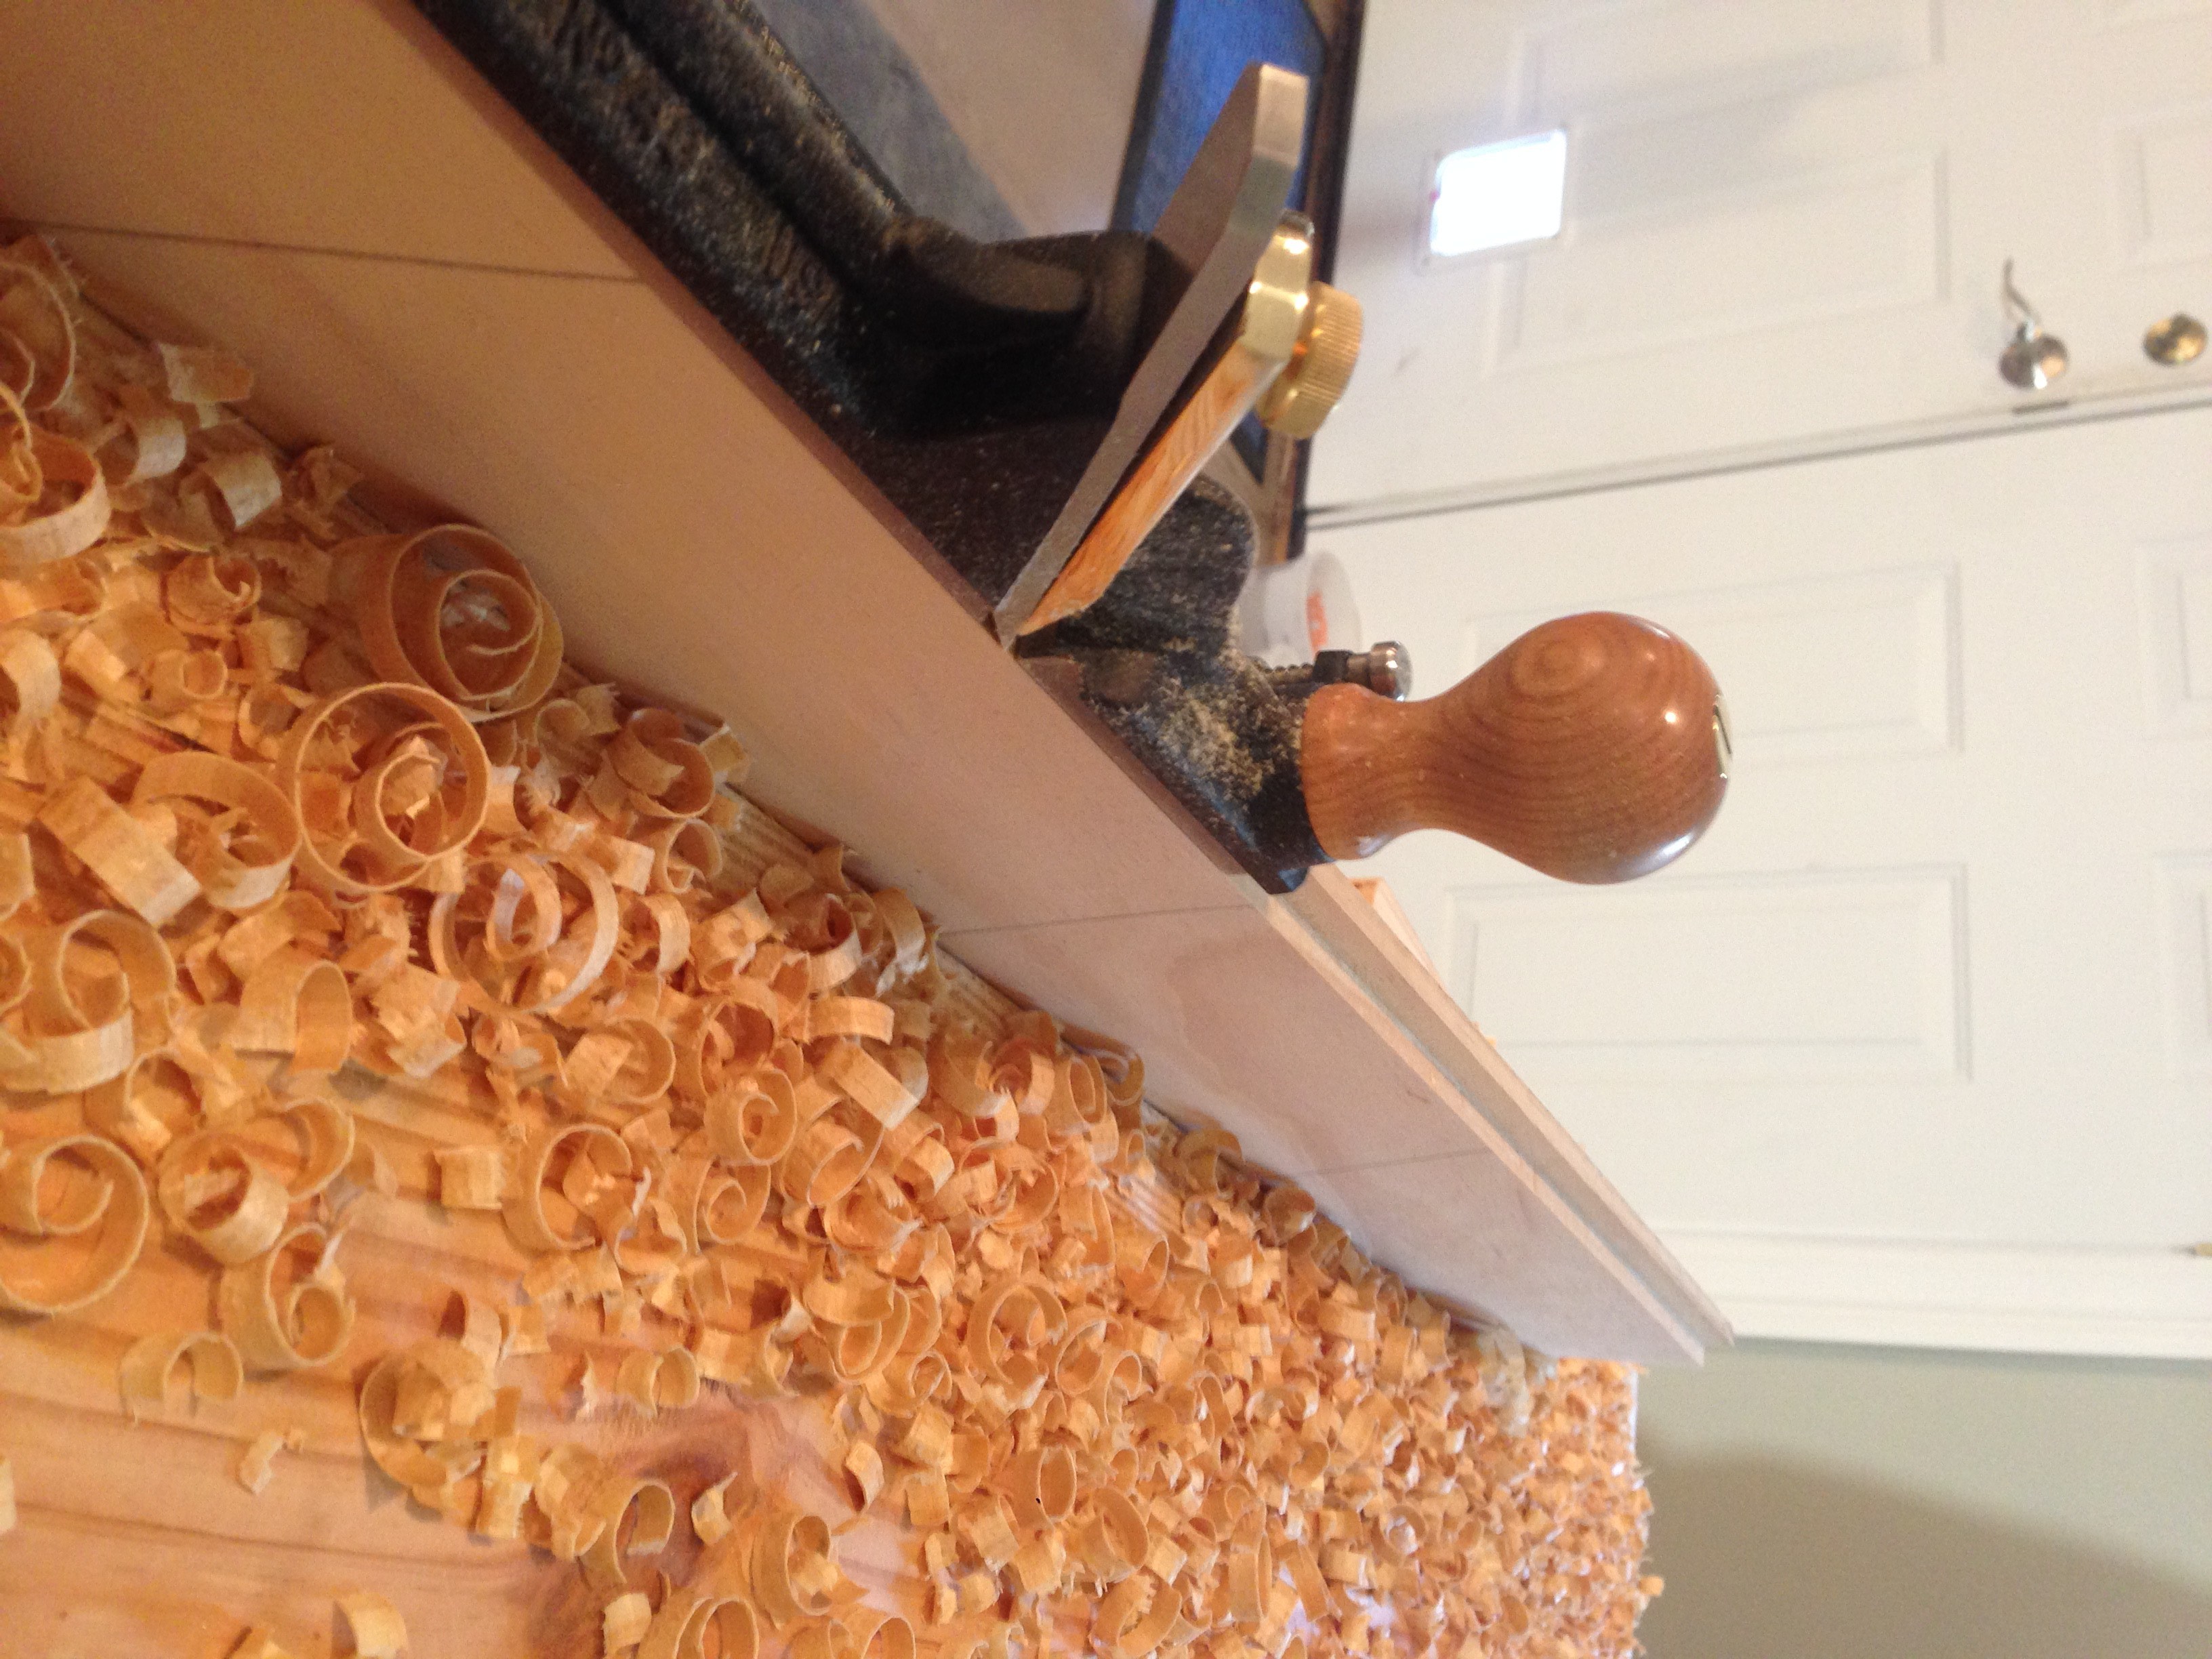
Since the back of the chest will be visible from the inside, I added a small bead detail to the tongue boards to provide a little shadow around the joint and make it more pleasing to the eye. As I learn more about furniture design I’m beginning to realize that these are the small details that help a piece catch your eye. I made sure to add this to the tongue boards only, since it would likely weaken the thin groove boards and make them liable to snap off. This bead was cut with a beautiful wooden beading plane that was made by Caleb James, a chair and planemaker in South Carolina. This tool is addictive, once you’ve made a few beads everything starts to look like it should have one, or two, or more…

The back is nailed to the chest, but this time I’ll be using forged nails instead of cut nails. Forged nails were traditionally made individually by a blacksmith who would taper the shaft on all four sides and then facet the head on a nail header. As you can imagine these traditional nails look incredible but are quite expensive. Luckily, there is a more economical alternative, which are machine-made ‘forged’ nails that have similar characteristics to the blacksmith-made nails. The catch is that you can’t pick these up at your local hardware store. In fact, my research suggests that these might only be currently made by the Rivierre Nail Factory in Creil France. I ordered mine from Dictum in Germany and paid almost as much in shipping as I did for the nails, but they’re worth it! The nails are made from a blued-steel and have a large diamond-tapered (Roman) head, which provides excellent fastening ability.

Similar to the cut nails the forge nails require pilot holes. I drilled the pilots using a tapered bit and did some final squaring of the case by measuring across the corners. When everything was square I drove the first nail home to a wonderfully loud CRACKING sound. I misjudged the size of my pilot holes and split the pine on the end of the board. I guess this is why it’s always encouraged to test these operations on a scrap piece first.

Upon inspection the crack seemed minimal and it was located on a board that could be easily replaced in the future, so I decided to grab the next size up tapered bit, re-drill the pilot holes, and continue on. The rest of the nails went in without further problems and I like the way the forged nail heads look on the chest.

It was a similar operation for the main front panel (of course with a bead along the bottom edge) and the bottom lip (also adorned with the requisite bead). With those two pieces in place, the carcase is complete. In Part VI I’ll discuss the next step which is to make the fall-front.


The previous parts of the Dutch Tool Chest Build series can be found here: