I got a little ahead of myself last time when I said the next thing to do on the Dutch Tool Chest was to move on to the front and back of the chest. I must be getting too excited to have this thing start looking a little more like an actual chest. First, the shelf needs to be installed, then a slot for the sliding lock has to be cut through it and a corresponding catch added to the chest bottom.
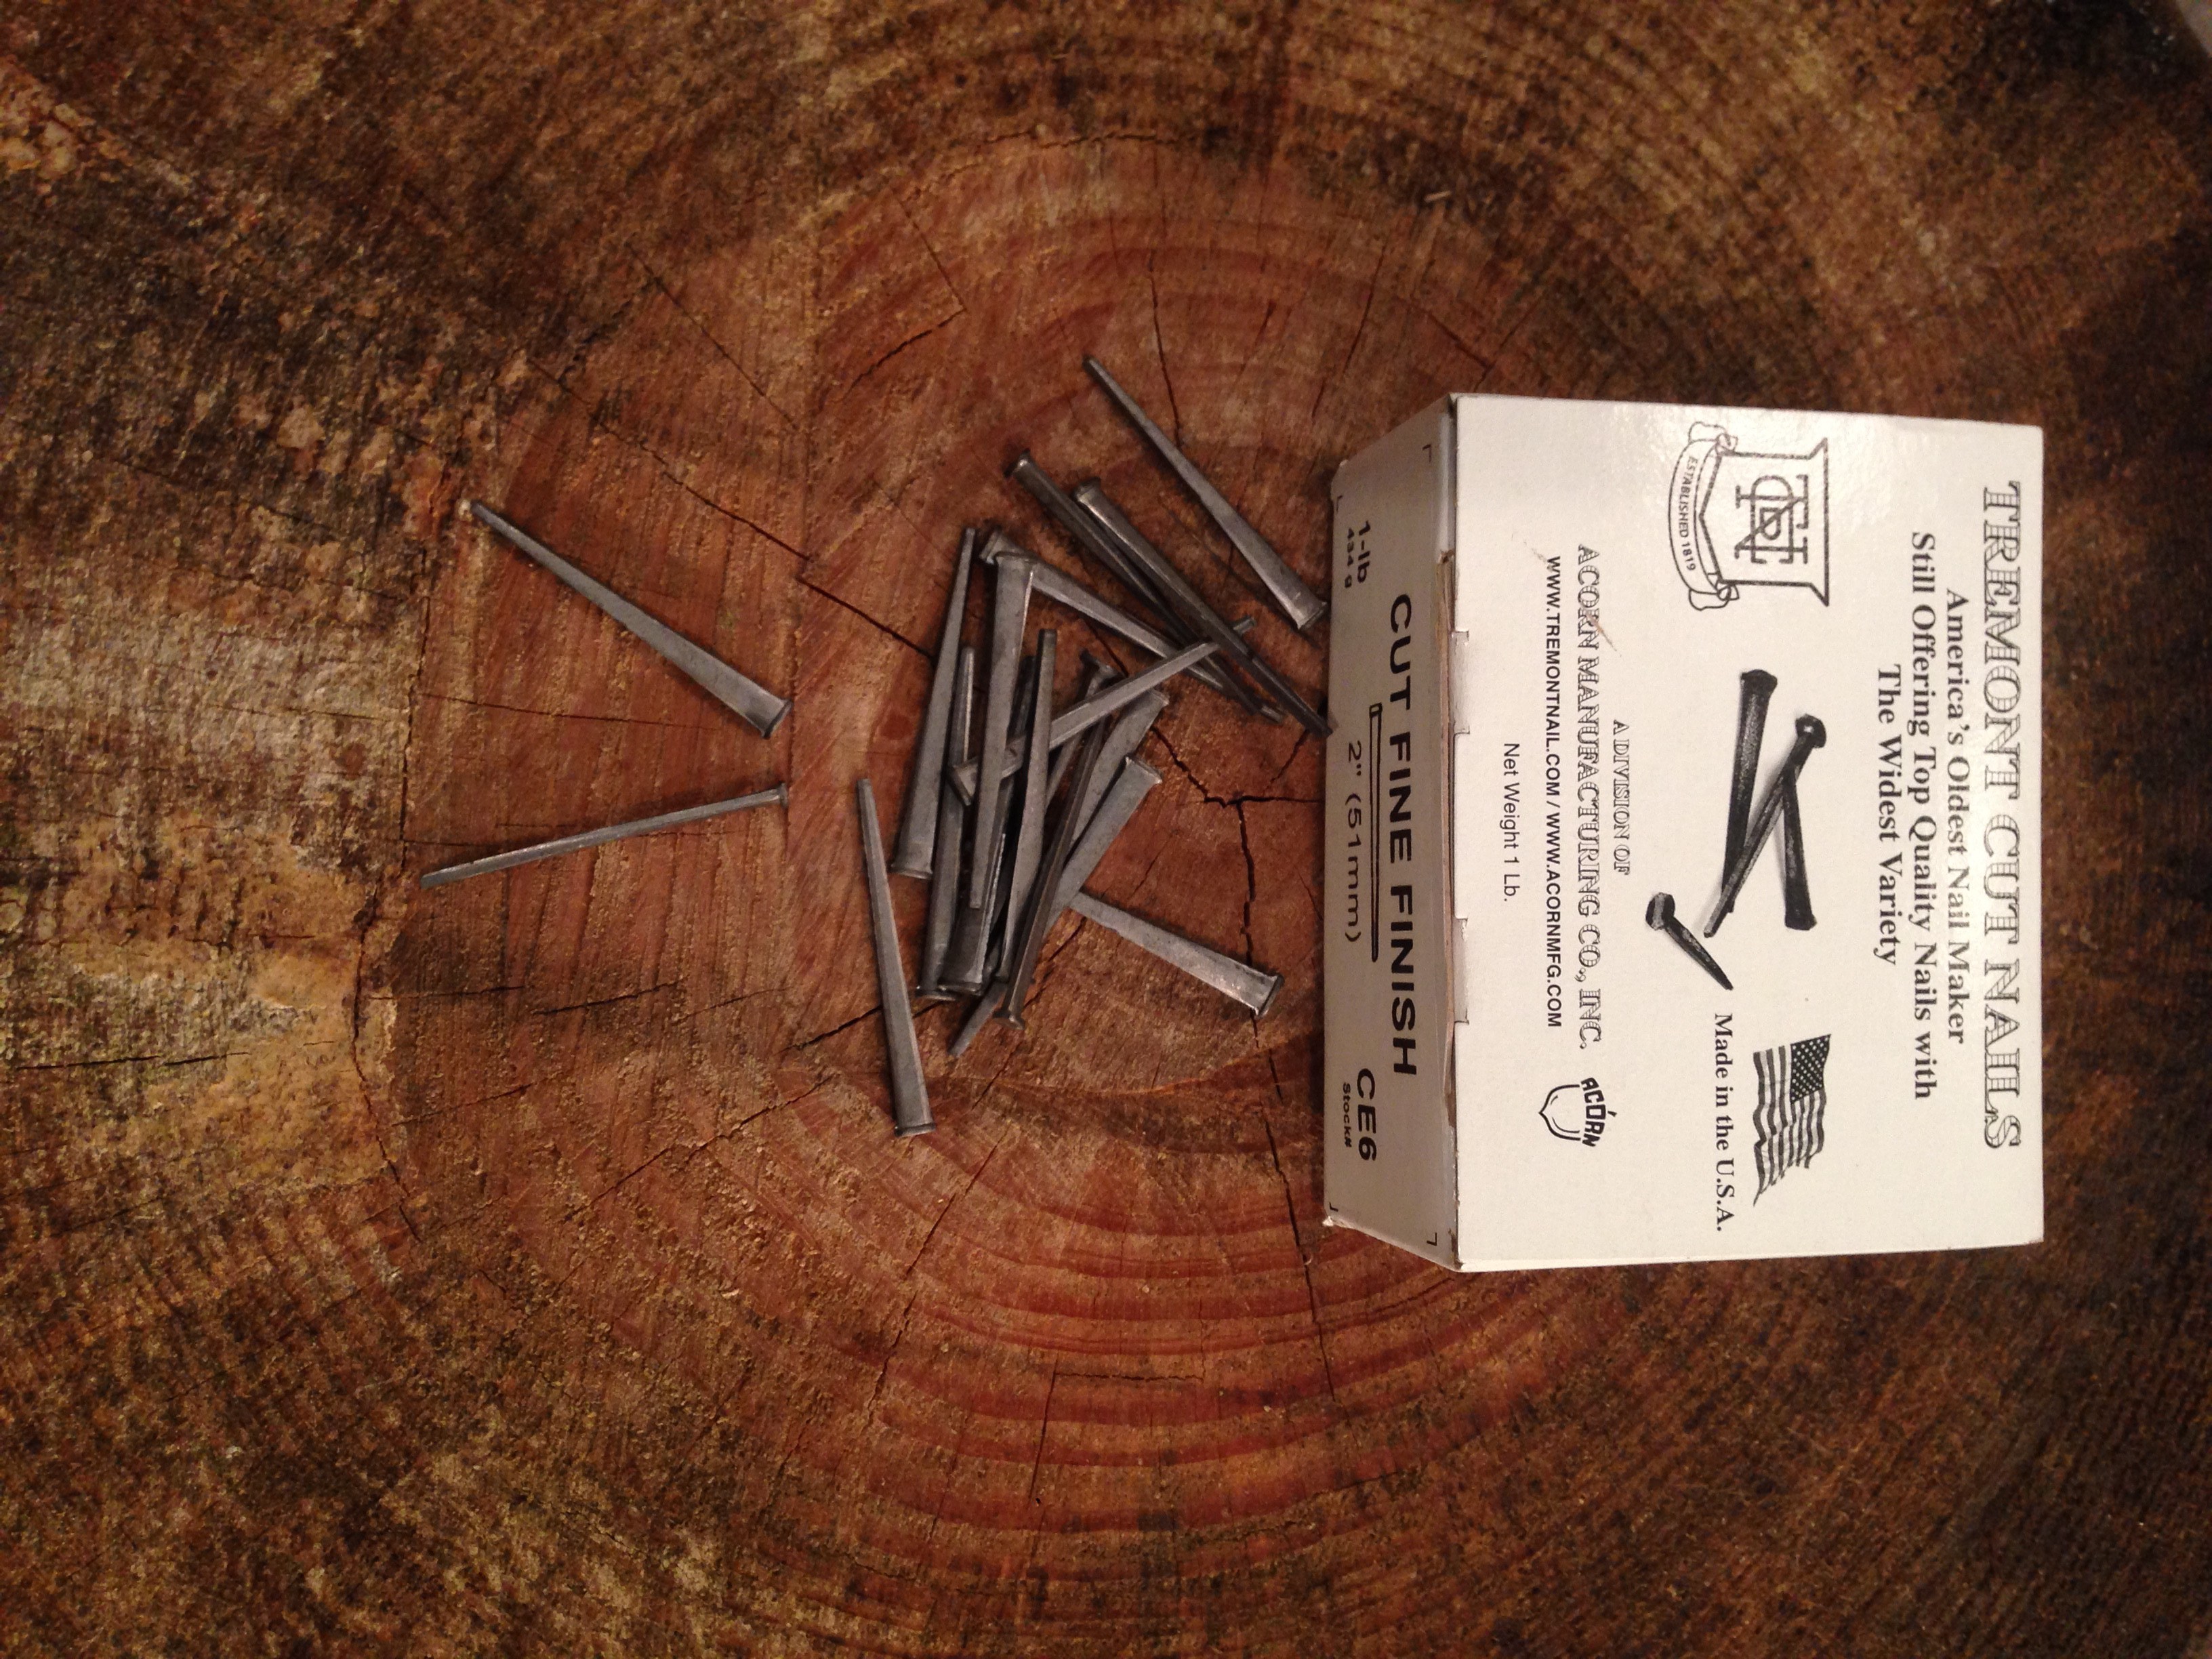
The shelf will slide into the corresponding dado’s that were cut in the sides and will be secured by nails and a little glue for good measure. Not just any nails though – I’ll be using cut nails. Cut nails have much greater holding power than regular wire nails due to the taper along their length. The nails only taper along one axis as they are cut from a sheet of plate steel on a slitting mill, technology that was developed in England around 1590. Today, there is only a single manufacturer of cut nails in the United States, the Tremont Nail Company.
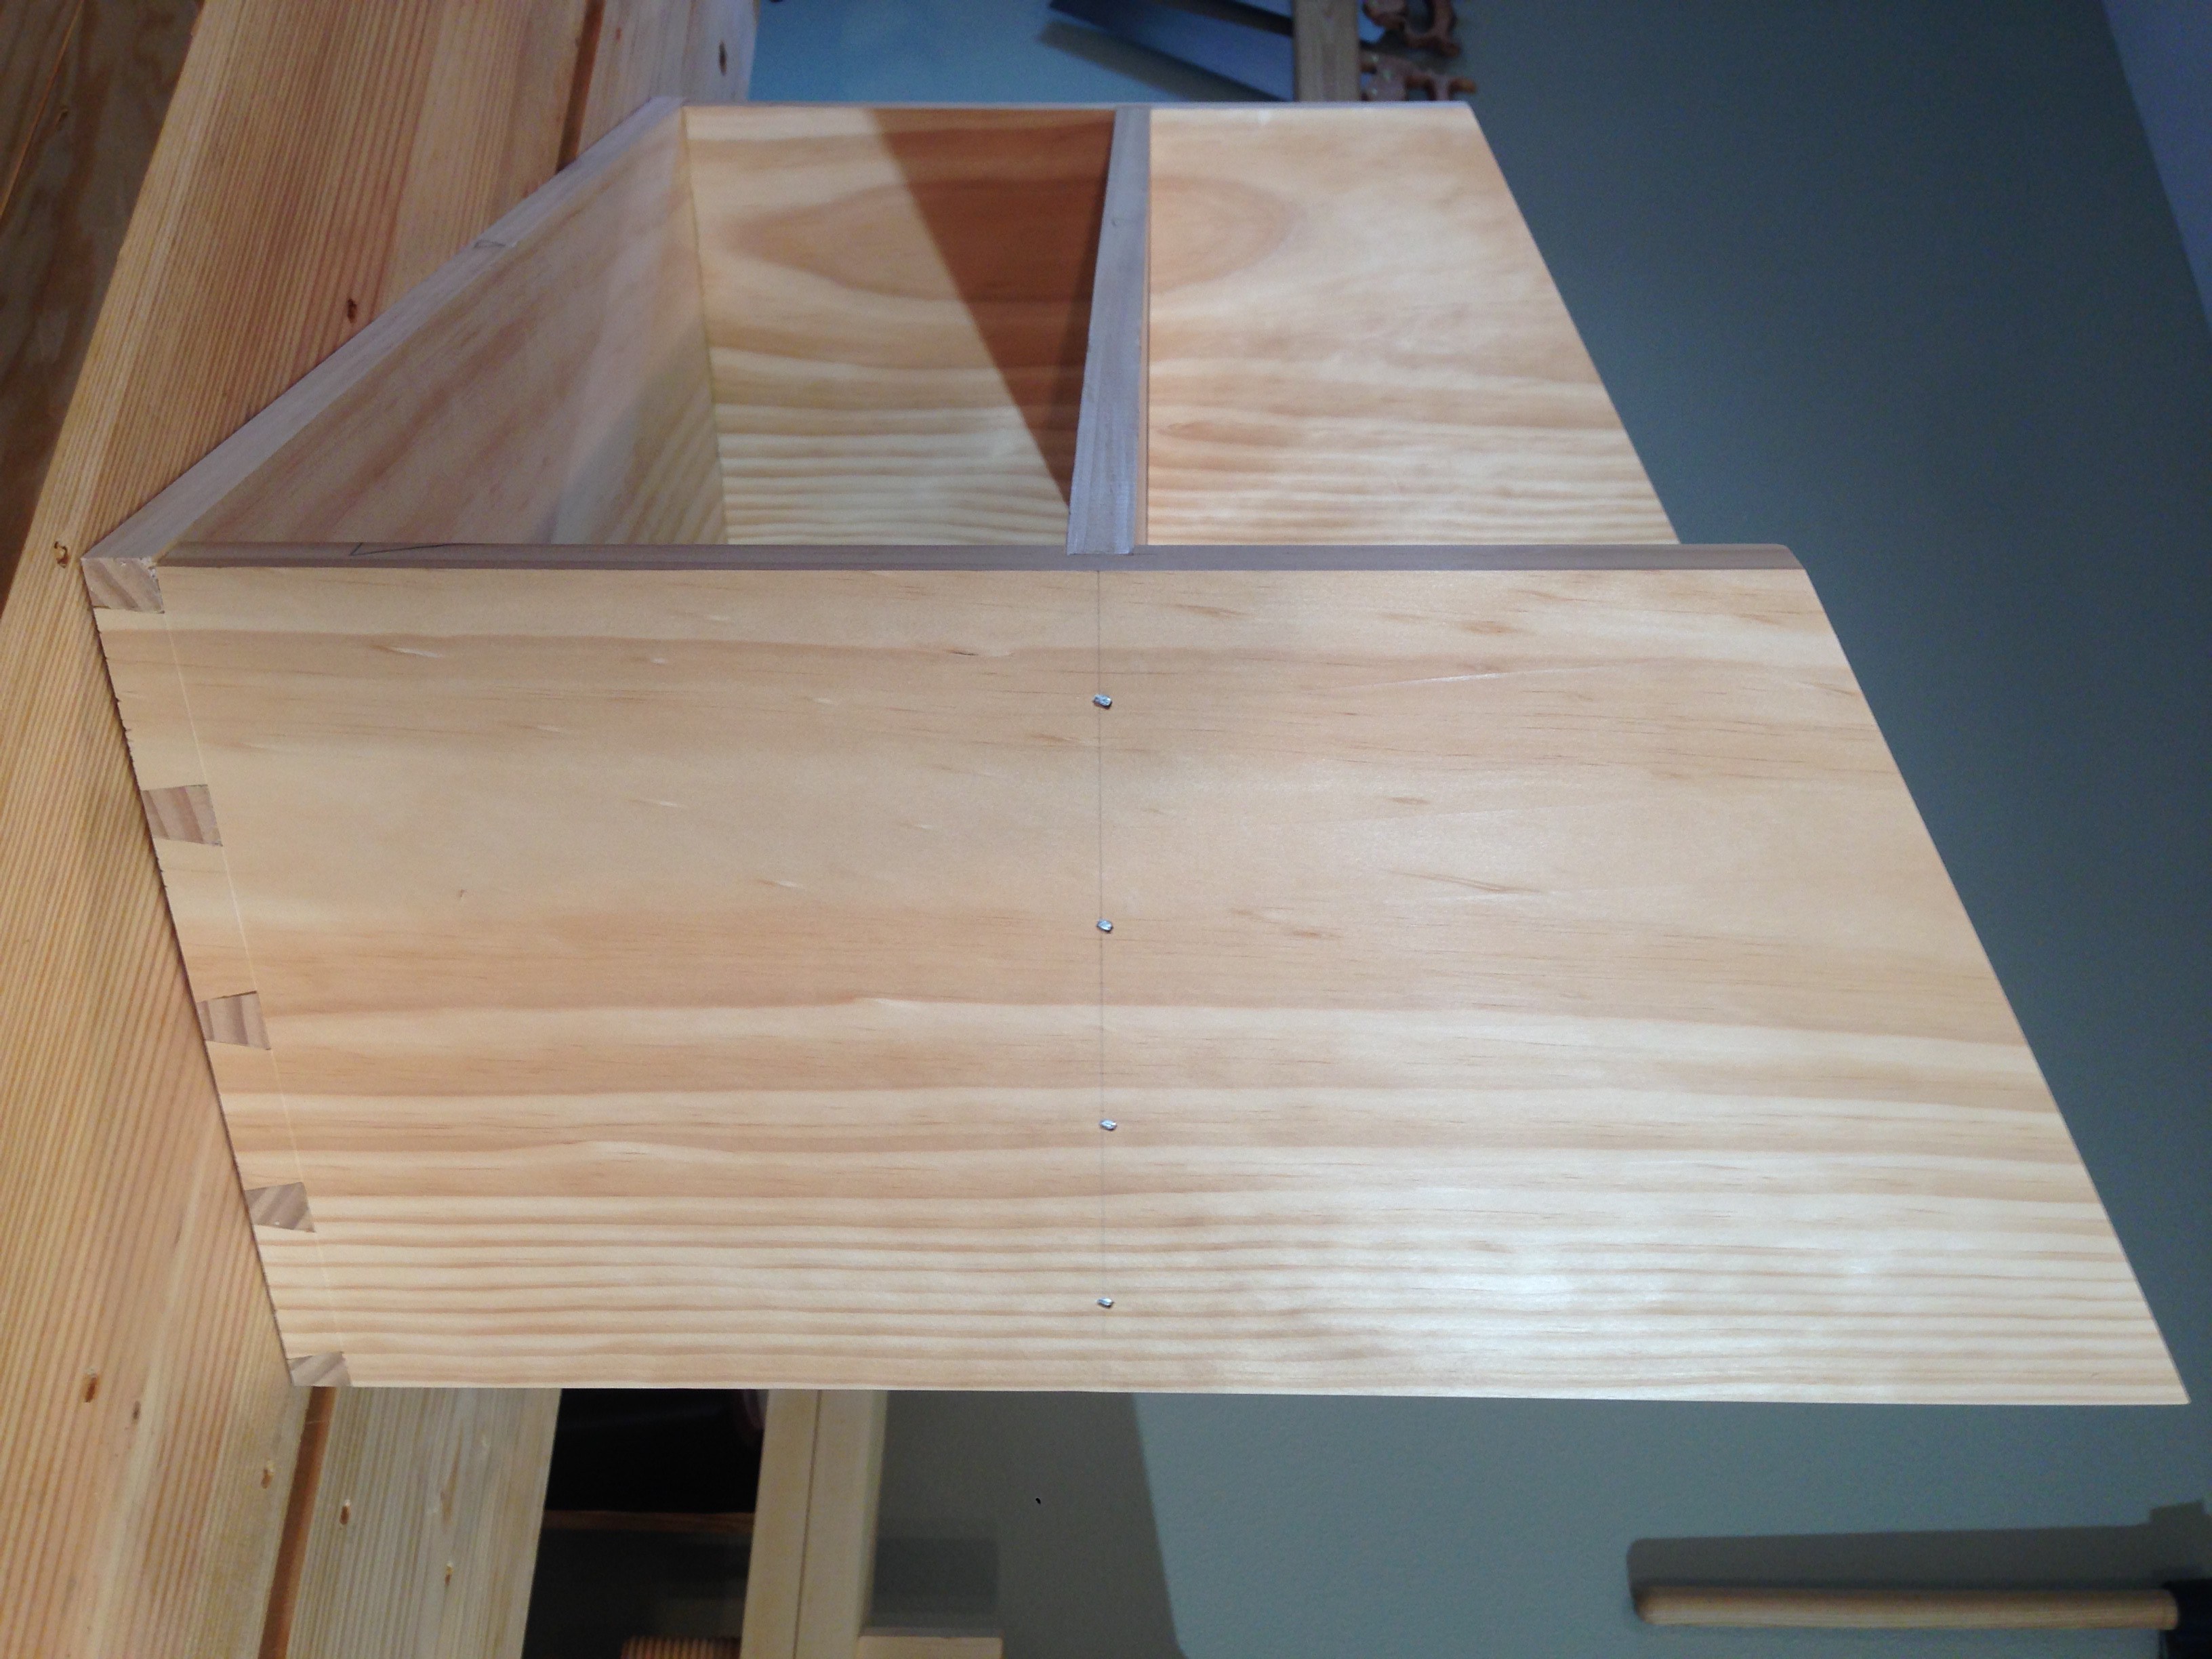
I laid out the location of the nails along the sides and drilled their pilot holes. The pilot holes are necessary as the wedging action of the nail will tend to split the wood. For this reason it’s also important to orient the nails so that the wedging direction is parallel to the grain of the wood, this will help reduce the chance of splitting. If the nails are oriented so that they wedge against the grain they’ll act just like a mini-splitting wedge that you might use to split firewood.

After adding a little glue to the dados I slid the shelf in and drove the nails. They were then set just below the surface. When I flipped the chest over and nailed the opposite side, I realized I might be running into a bit of trouble with the dado’s that I cut too deep. The problem was that by nailing the shelf on both sides in the overly deep dado’s, it was pulling the sides of the chest in and bringing the whole case out of square. There was no sense in stopping now, so I grabbed a deadblow mallet and tape measure and started whacking the sides out until the case was square(ish). This worked, but it did have the effect of setting the nails on one side of the case way too deep as they were pulled along with the shelf. These things do have extremely good holding power!

The notches for the sliding lock where pretty straightforward once I found a suitable piece of thin stock to act as the lock itself. I wanted to make sure my layout was taken directly from the thin piece of oak that would act as the lock itself, instead of trying to measure. The notch in the shelf was simple to make by cutting the edges straight and then making a series of relief cuts to ease the job of chopping out the waste. I then paired out the floor of the notch with a chisel and moved on to the bottom.


While looking a little more complicated, the catch in the bottom was essentially the same as the one in the shelf. Expect, the relief cuts had to be made at a 45° angle so as not to saw too deep. The chisel made quick work of the excess material and now I really was ready for the back of the chest.

The previous parts of the Dutch Tool Chest Build series can be found here: