Before I assembled and glued the dovetails I had to complete two things:
- Dado’s for the shelf
- The 30° angle for the lid.
To keep the walls of the dado’s dead straight a batten was clamped across the sides to use as a sawing guide. Once the edges were cut to their required depths I was able to chisel out the waste and use a router plane to clean up the bottom of the dado. So, pretty straight forward right?


Right… I was a little too heavy-handed with the chiseling and went beyond the 1/4″ depth of the dado’s (didn’t need the router plane on that one). While not a huge issue since the front and back of the chest will cover the exposed dado ends, it could make for a bit of trouble with aligning the shelf and squaring up the case.
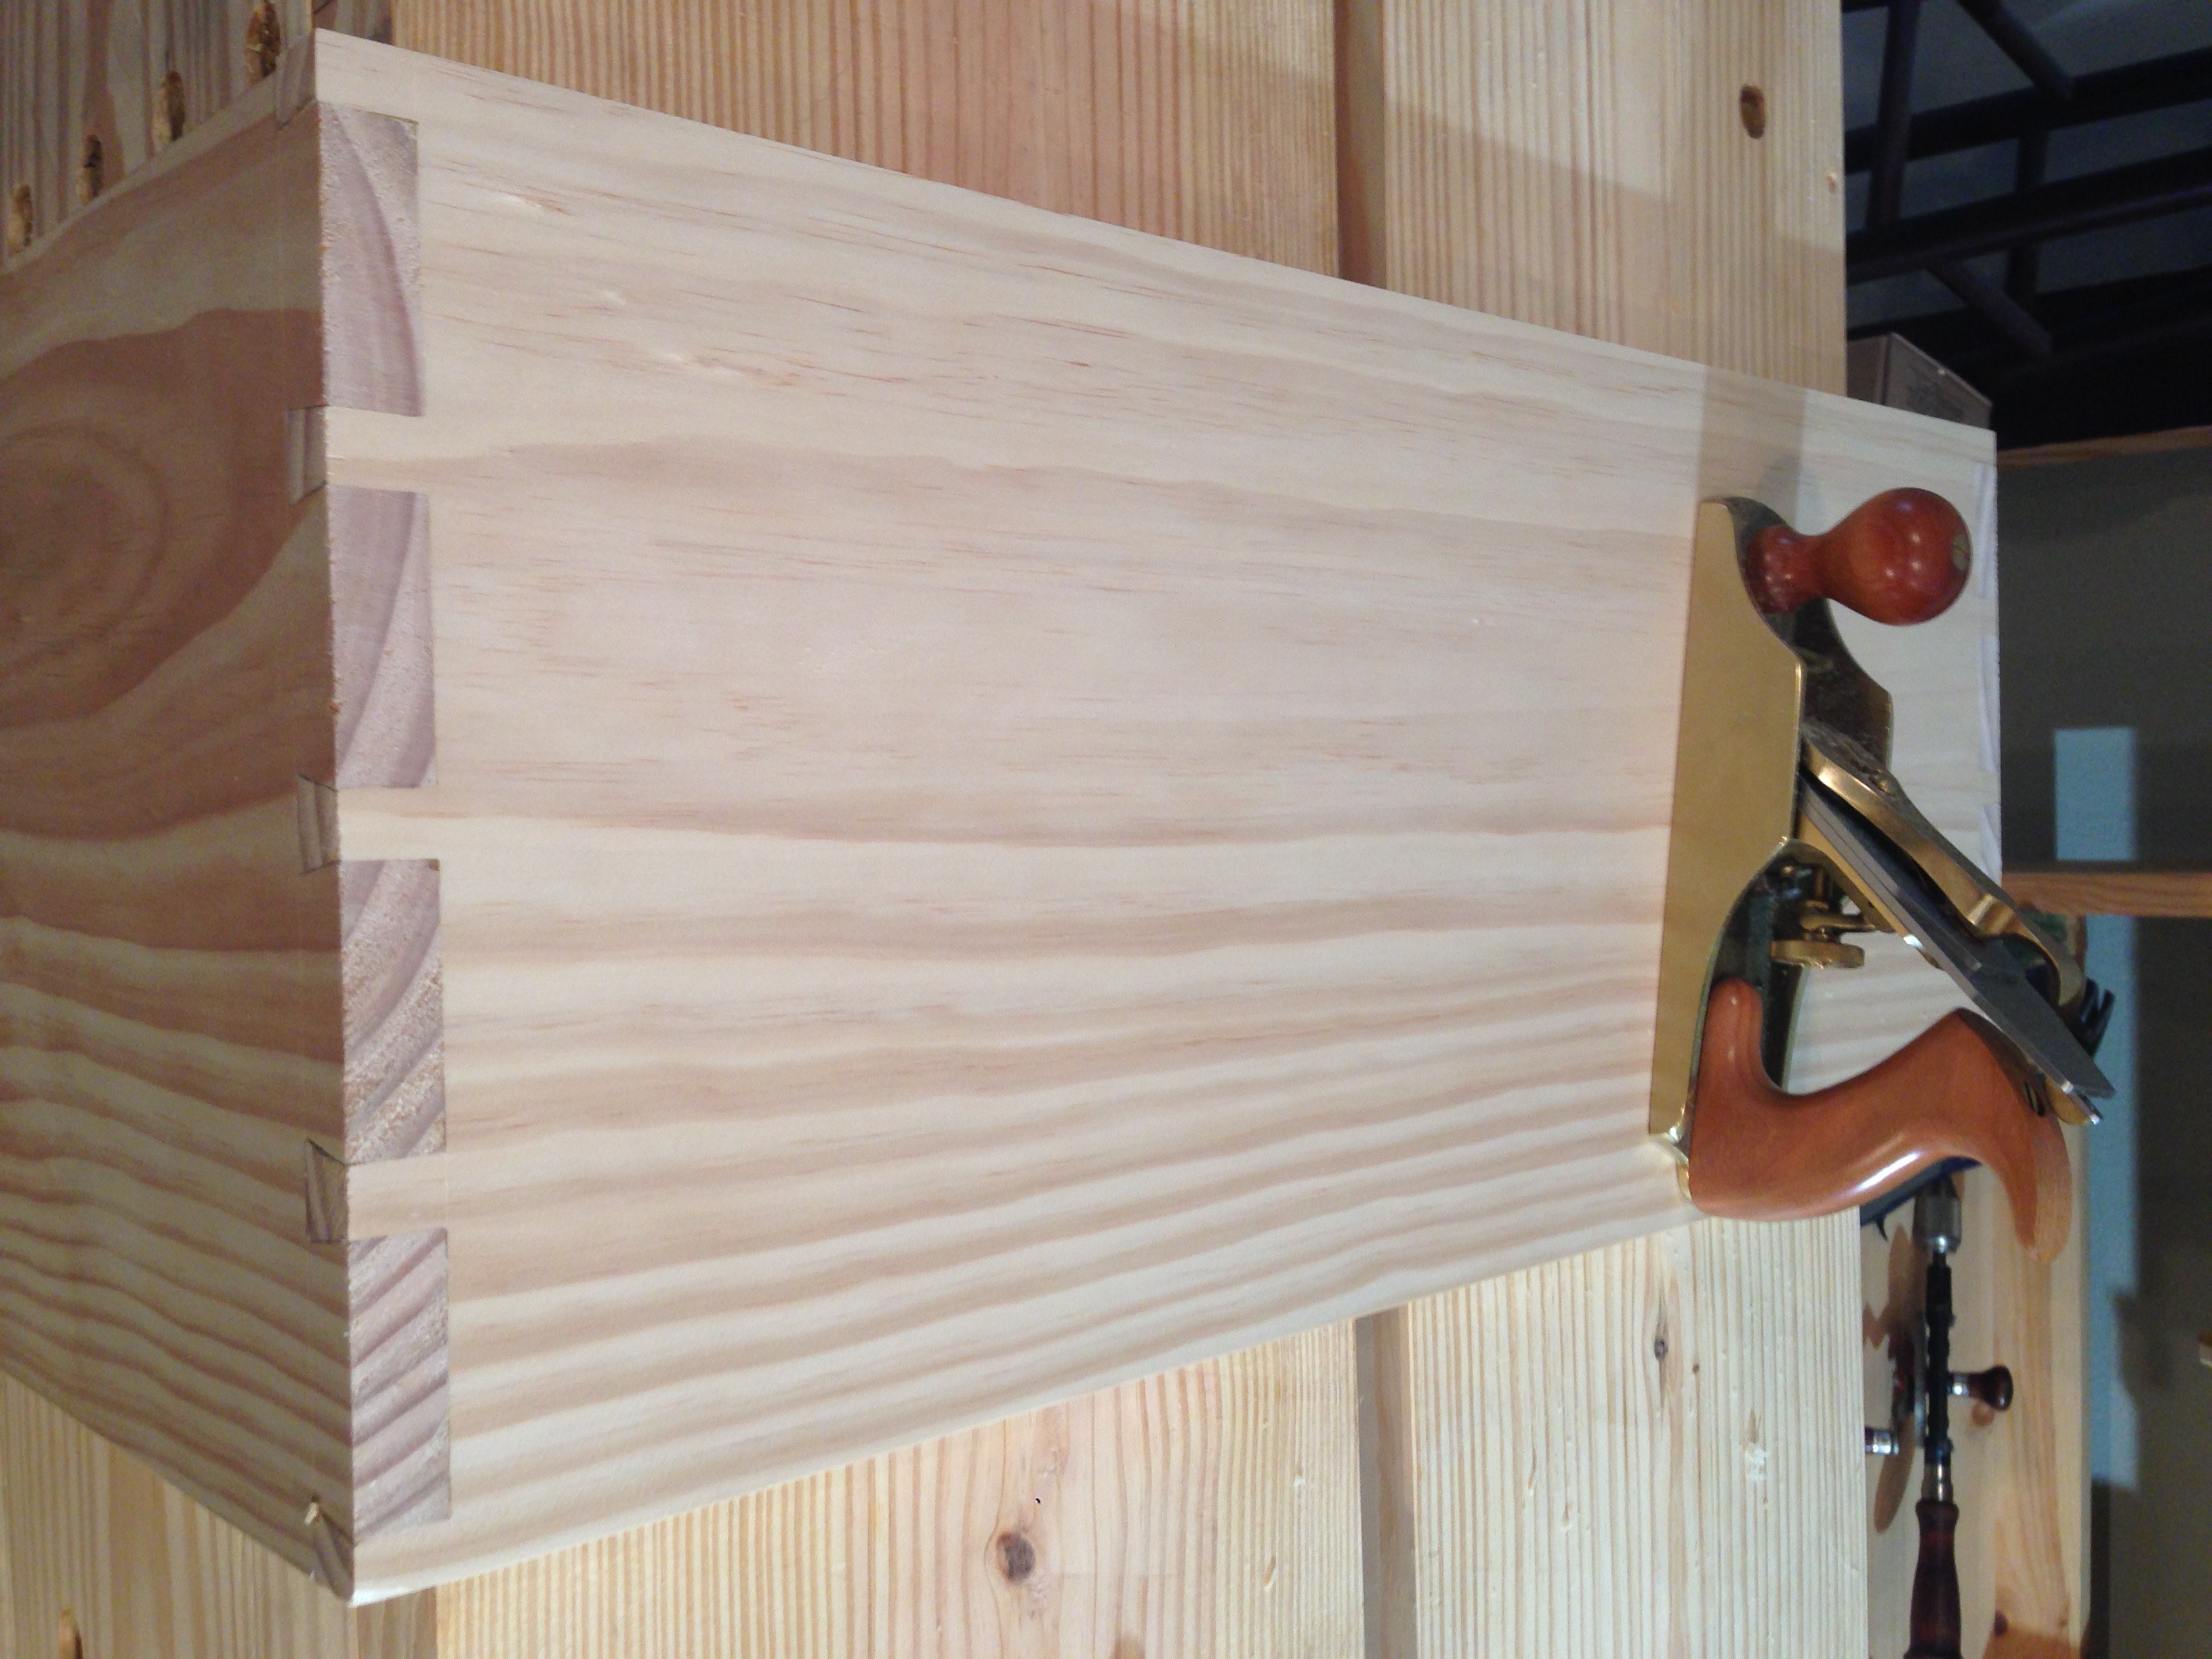
I cut the 30° slant on the sides for the lid and then to ensure that the angles on both sides would match I clamped the boards together and planed them flat with the jointer plane.


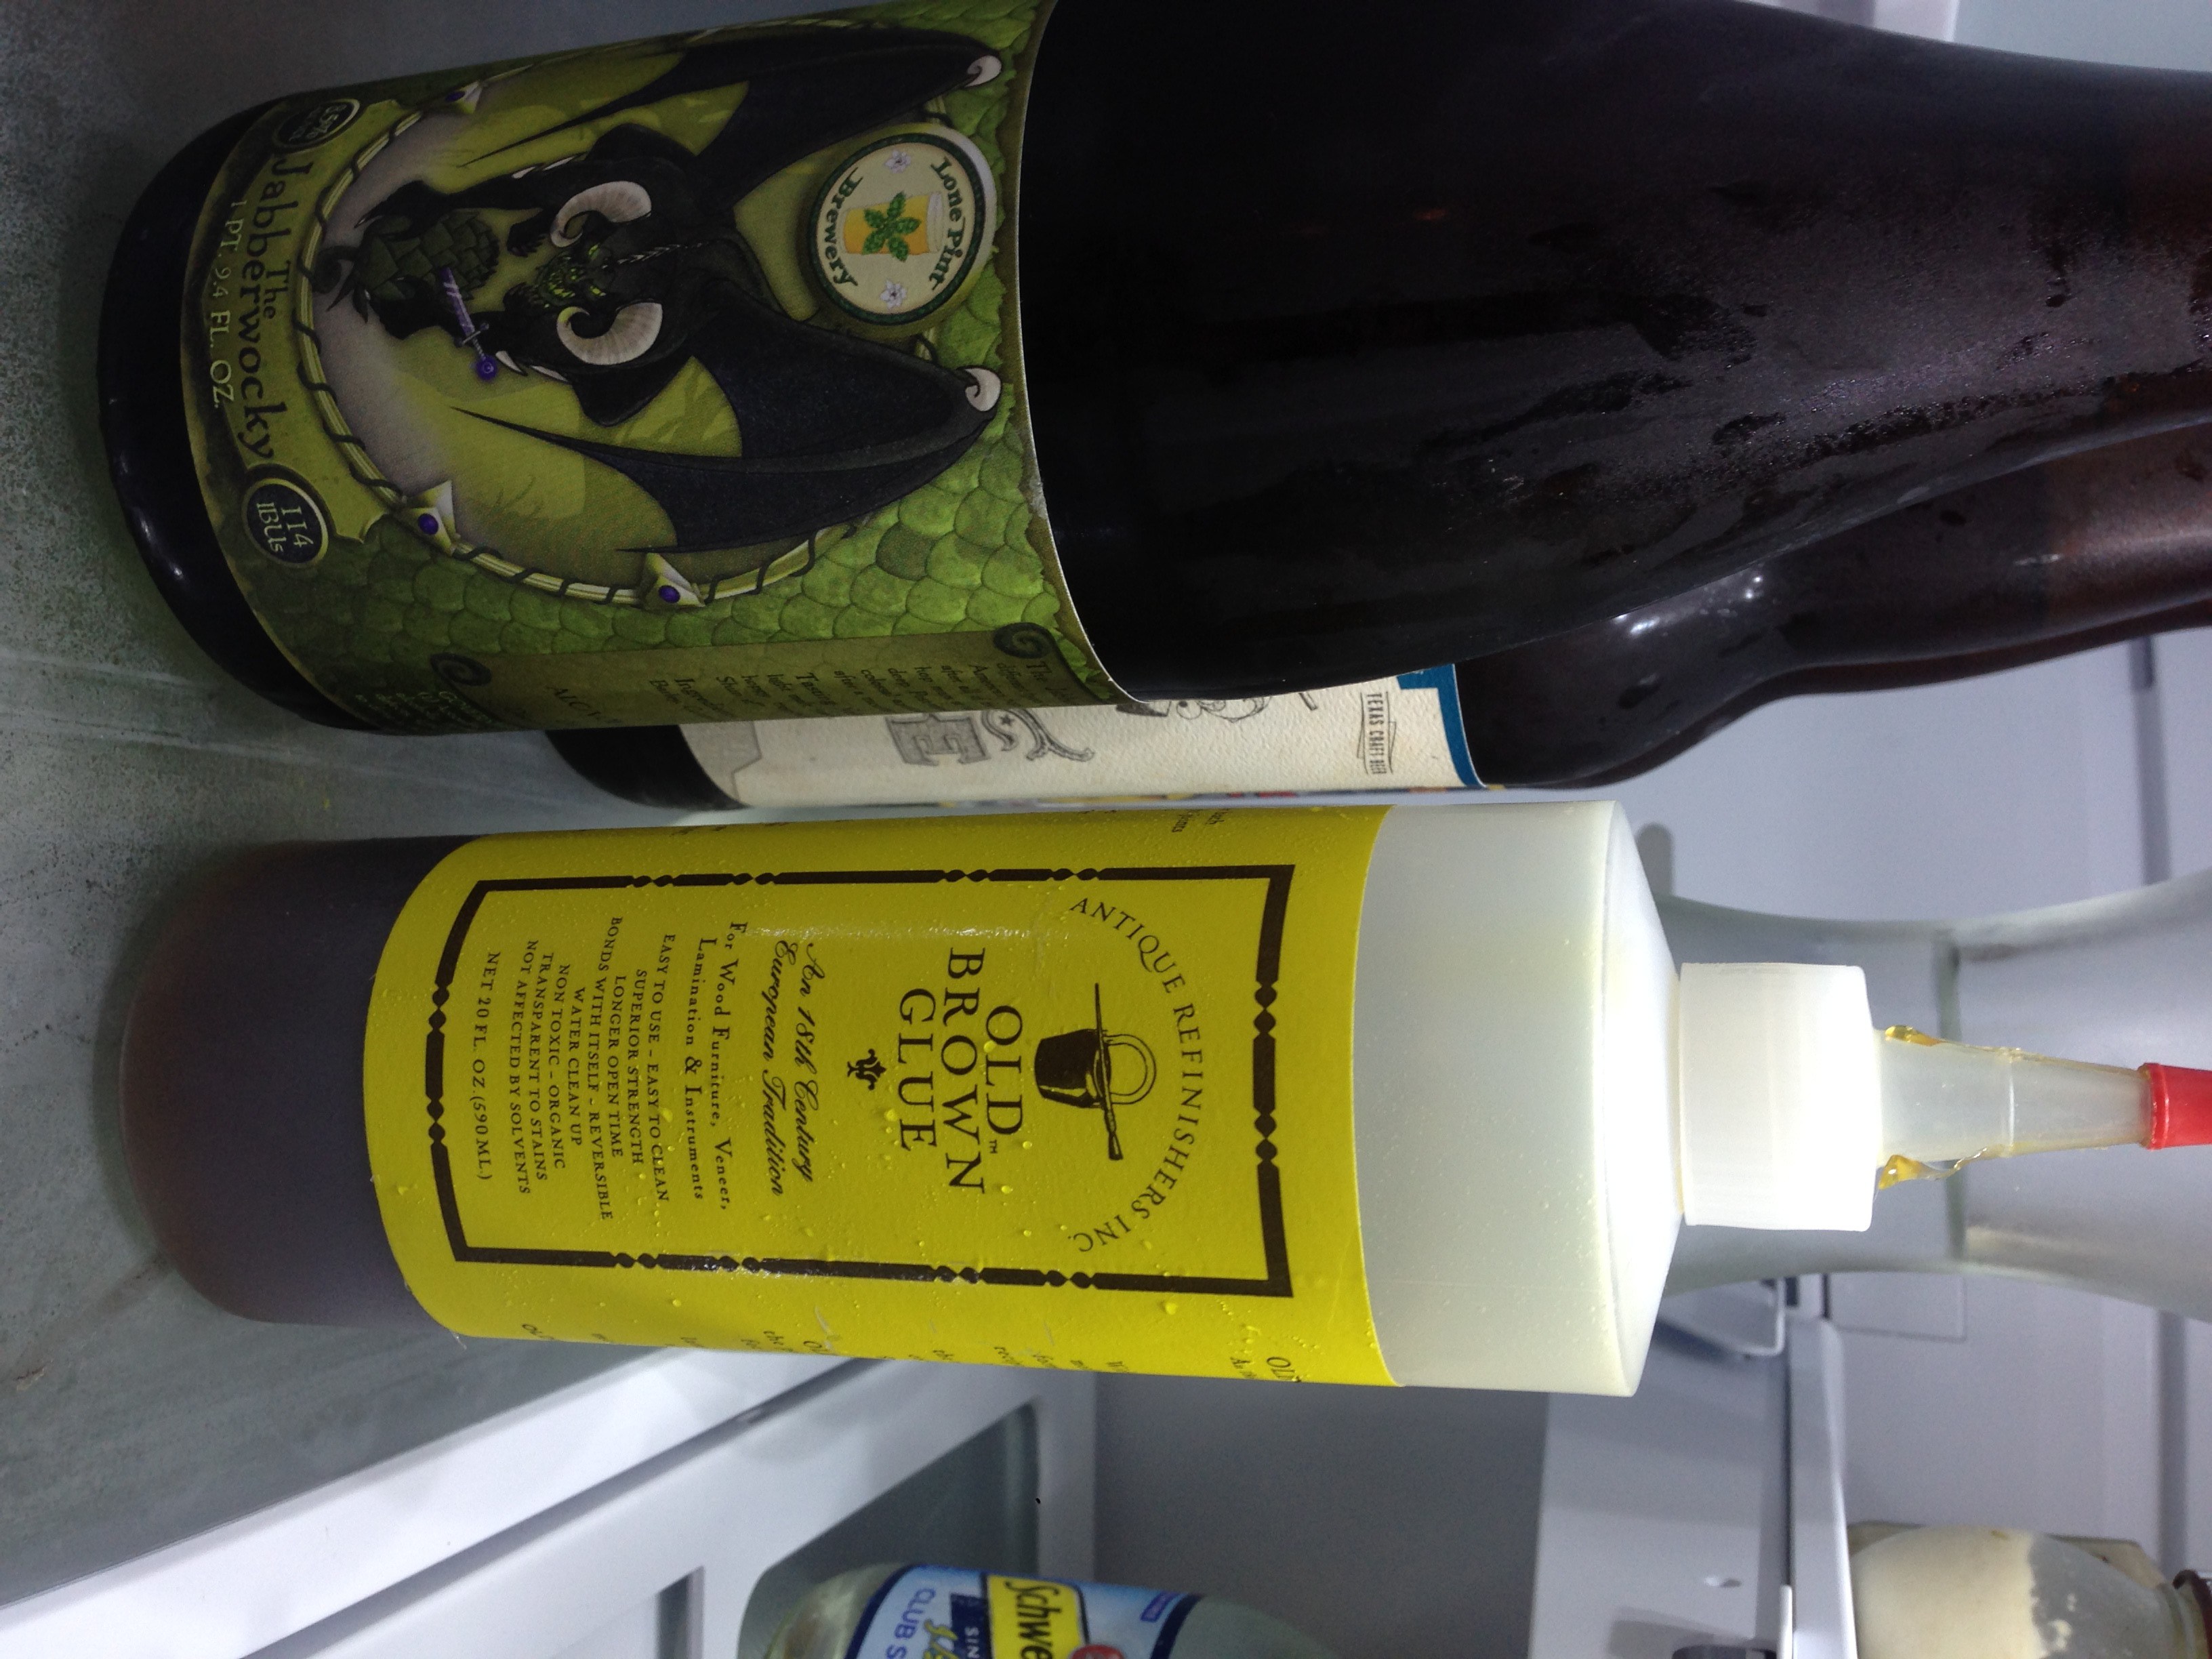
Time for glue! And not just any glue, hide glue – this stuff is seriously my new favorite thing. We’ll have to discuss the merits of hide glue another time, but for this application I’m using Old Brown Glue by Patrick Edwards.

An hour or so later I sleeved the case over the bench to clean-up the joints with the smoothing plane. While the joints aren’t perfect they’re more than adequate for a tool chest and I’m happy to be moving on to the front and back of the chest.